Permalink
Cannot retrieve contributors at this time
Name already in use
A tag already exists with the provided branch name. Many Git commands accept both tag and branch names, so creating this branch may cause unexpected behavior. Are you sure you want to create this branch?
MinecraftDiscord/README.md
Go to fileThis commit does not belong to any branch on this repository, and may belong to a fork outside of the repository.
executable file
55 lines (40 sloc)
2.83 KB
This file contains bidirectional Unicode text that may be interpreted or compiled differently than what appears below. To review, open the file in an editor that reveals hidden Unicode characters.
Learn more about bidirectional Unicode characters
| # Minecraft Discord | |
| Welcome to my GitHub | |
| This is a Discord bot that you host yourself (tutorial below) that can tell you the status of your (or any public) Minecraft server and lists the players online. | |
| More functions listed below. | |
| ##### Table of Contents | |
| [Headers](#headers) | |
| [Emphasis](#emphasis) | |
| ...snip... | |
| <a name="headers"/> | |
| ## Headers | |
| ## Setting up the Discord bot | |
| 1) Go to the [Discord developer site](https://discordapp.com/developers/applications) | |
| 2) Click the "New Application" button<br/> | |
|  | |
| 3) Give the application a name and click “Create”<br/> | |
| 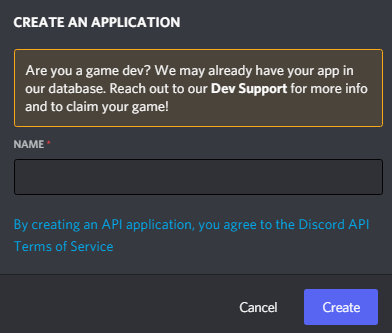 | |
| 4) Create a Bot User by navigating to the “Bot” tab and clicking “Add Bot”.<br/> | |
| 5) Click “Yes, do it!” to continue.<br/> | |
|  | |
| 6) Make sure that Public Bot is ticked if you want others to invite your bot.<br/> | |
| 7) You should also make sure that Require OAuth2 Code Grant is unchecked unless you are developing a service that needs it. If you’re unsure, then leave it unchecked.<br/> | |
| 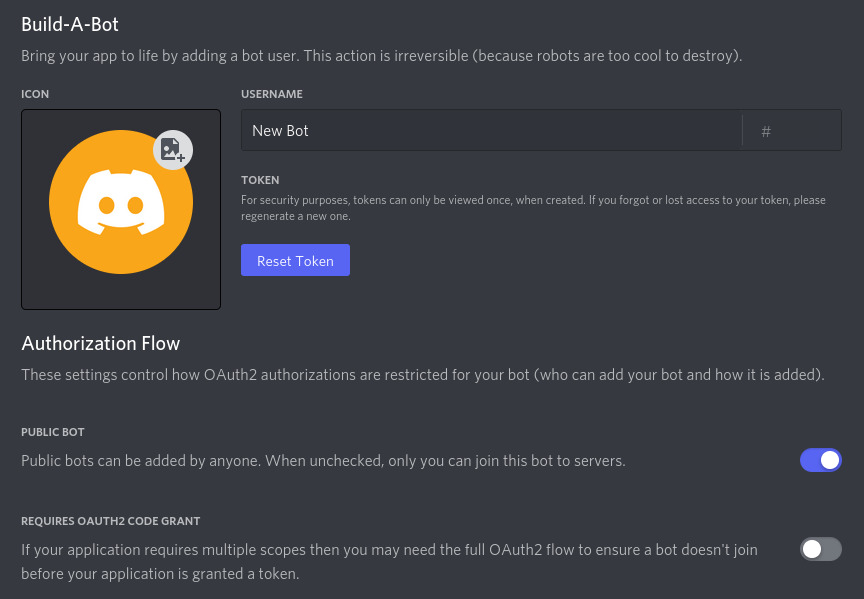 | |
| 8) Copy the token using the “Copy” button. | |
| #### Warning: It should be worth noting that this token is essentially your bot’s password. You should never share this to someone else. In doing so, someone can log in to your bot and do malicious things, such as leaving servers, ban all members inside a server, or pinging everyone maliciously. | |
| #### The possibilities are endless, so do not share this token. | |
| #### If you accidentally leaked your token, click the “Regenerate” button as soon as possible. This revokes your old token and re-generates a new one. Now you need to use the new token to login. | |
| ## Inviting your bot | |
| 1) Following from the previous steps, go to the OAuth2 tab<br/> | |
| 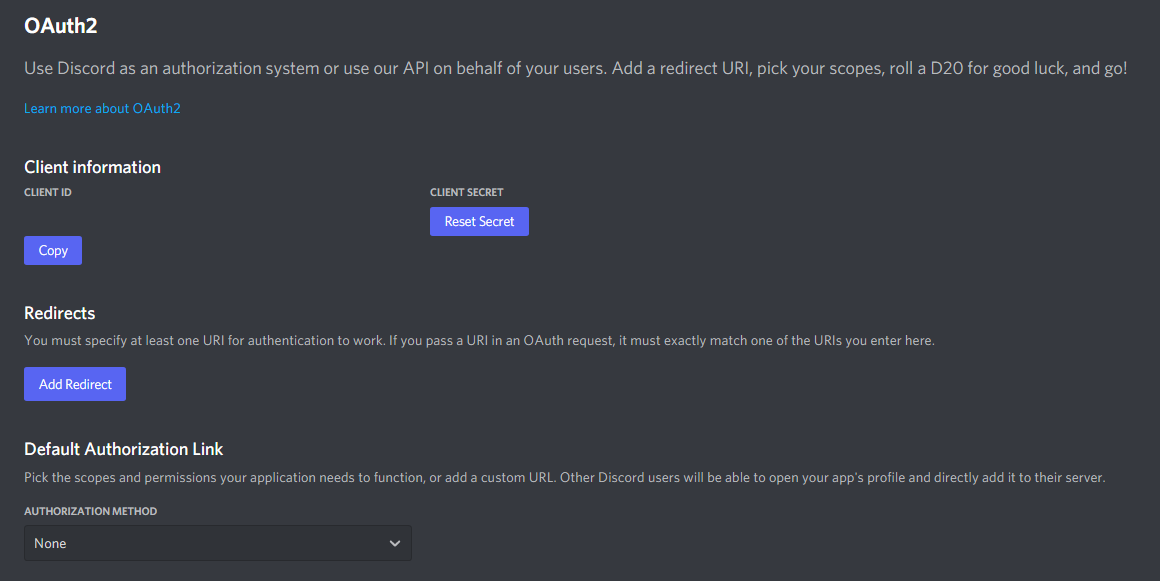 | |
| 2) Tick the “bot” checkbox under “scopes”. <br/> | |
| 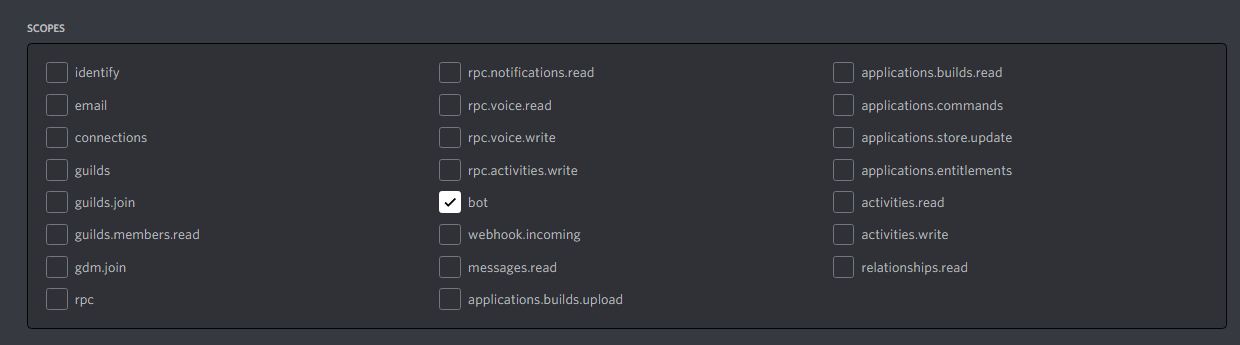 | |
| 3) Set the permissions required for the bot. For this Minecraft bot we only need the following permissions: | |
| 1. Send Messages | |
| 1. Manage Messages | |
| 1. Embed Links | |
| 1. Attach Files | |
| 1. Read Message History <br/> | |
| You can set as many permissions as you'd like which may be needed if you want to add your own code to this bot. <br/> | |
|  | |
| 4) Now the resulting URL can be used to add your bot to a server. Copy and paste the URL into your browser, choose a server to invite the bot to, and click “Authorize”. |