Installing Jetbrains CLion
As part of the programming module you study on the course, you are required to interact with the C++ programming language. This interaction will be undertaken using an Integrated Development Environment (IDE), which will be installed within the Windows operating system.
In this guide, you shall be taken through the journey of installing the Jetbrains CLion IDE and how it will interact with the macOS operating system for any module that may make use of the IDE.
Preliminary Information
There is an expectation that you will have a JetBrains educational license. The IDE that is recommended by this course, is the JetBrains suite of applications. The JetBrains suite is payware, and as such they do not come for free. However, as students at this university you are able to obtain a free educational license. To obtain your free license, follow the instructions at the following URL:
Downloading and Installing the Jetbrains CLion IDE
The JetBrains CLion application is an IDE and is relatively useful for the course you are studying as it provides a means to develop applications for the C++ programming language.
Downloading the IDE is relatively straight forward. You can visit the following web-page and download the application:
Important
When downloading the IDE for macOS you need to select the relevant package installer, Intel or Apple Silicon (M1, M2 etc.)
Once you have downloaded the application, open the package and you will be presented with a screen as shown in Figure 1.

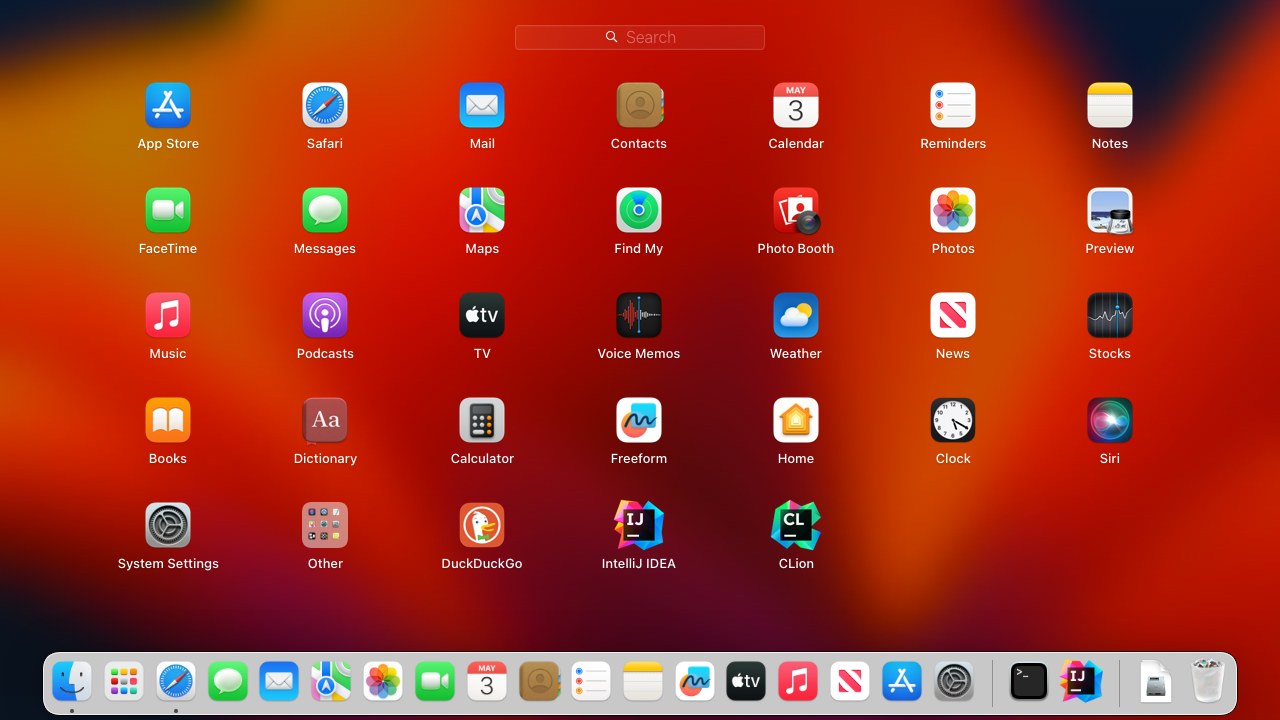
Follow the instructions that are presented in the window, and drag the CLion icon to the Applications folder. This will begin copying the contents of the application to your applications directory on macOS. When the operation has successfully completed, you will be able to open Launchpad and see that the IDE is now present in the list of applications, as shown in Figure 2.
In the Launchpad screen, click on the IDE, and it will begin to load. Before the main IDE window is opened, a dialogue window will be presented asking whether you want to open an application downloaded from the internet. Click on the Open button. This will then load the CLion user agreement, click on the checkbox to agree to the user agreement. Another window will be presented, asking whether you want to share your data, click on the Don't Send button.
Once the relevant user agreements and data sharing processes have been completed the CLion application will begin to load.
Activation of the IDE
On the first instance of following this guide, and the IDE has been installed and loaded, it will ask for you to activate your software. In order to do this, you need to click on the Log In to Jetbrains Account... button. This will open an internet browser window, whereby you will need to sign in with your JetBrains account you created earlier.
Once you have logged in to your account, the internet browser will close automatically, and you should now see an Activate button appear. Click on this button and your IDE will be activated, and you should be presented with an application window similar to the one shown in Figure 4.
Creating an Empty Project
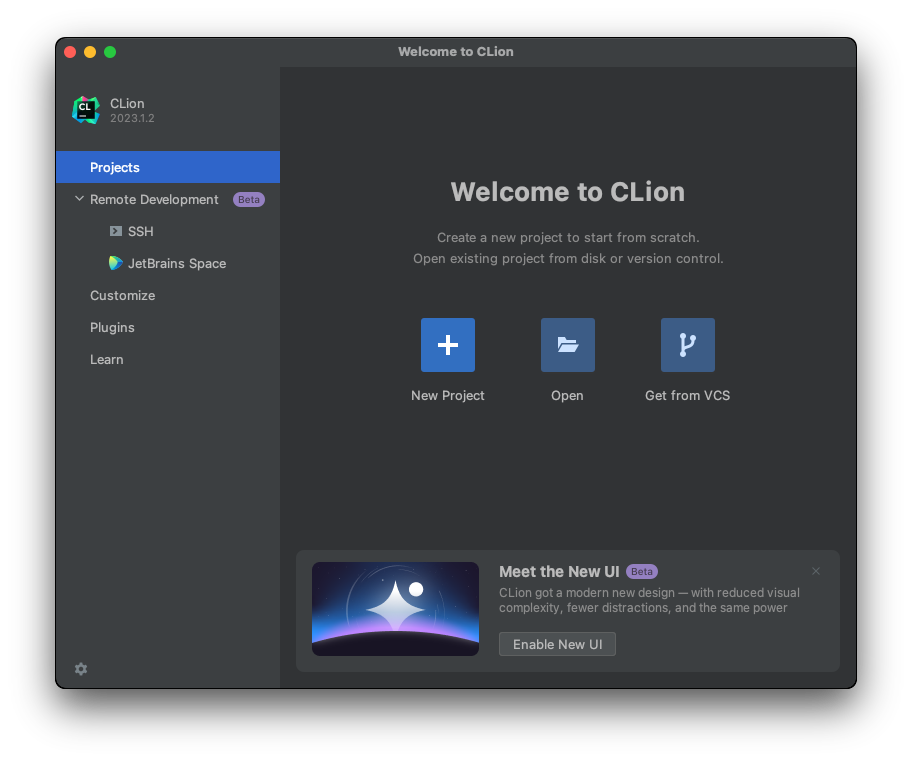
In this section of the guide, we shall begin the process of creating a new project. Once the IDE has loaded, you will be met with a splash screen similar to the one shown in Figure 8. On the splash screen, you will see a button labelled New Project, click on this button. A new window will pop up with a variety of different options, as shown in Figure 4.
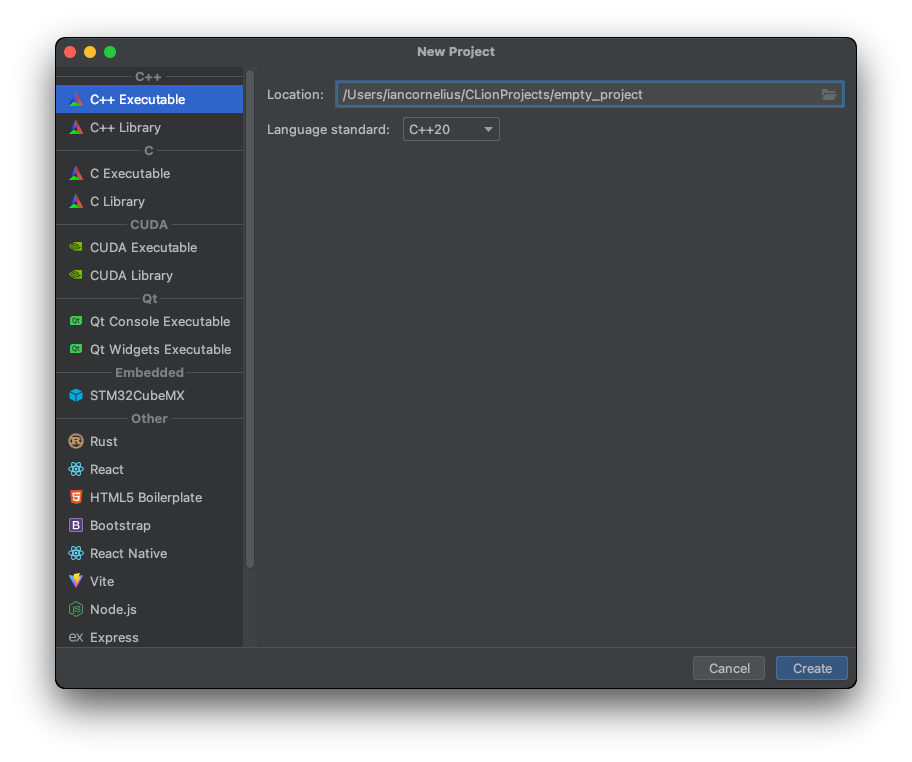
You can see in the new window, I have selected the C++ Executable option on the left hand-side. Once this item has
been selected, you will then be asked to provide a name of the project and the location where you would like to save
the project folder. In this instance, I have chosen to call my project empty_project and the location has stayed as
the default location: ~/CLionProjects.
Notice that the C++ language standard selected is C++20. This is the C++ standard that is taught on this course. Once
you have populated the details, click on the button labelled Create. This will begin the process of creating a new
C++ project. Once the project has been created, a window will pop up to show the detected C++ compiler, and other
necessary compilers that are required for the CLion IDE, similar to the screen shown in Figure 5.
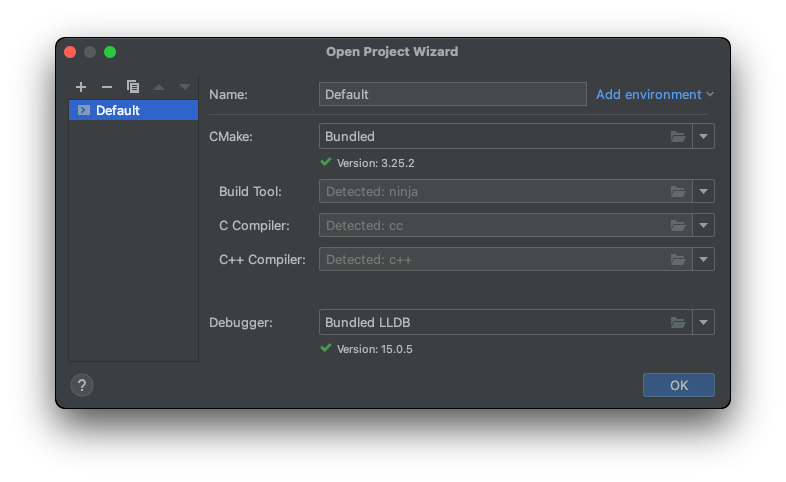
You will need to ensure that the Build Tool and C++ Compiler have both been detected in order for you to begin working on your C++ activities/assignments. If they show as detected on the pop-up window, you can click on the OK button.
Conclusion
That is the end of this guide on setting up the JetBrains CLion IDE and configuring it to interact with the macOS operating system. If you have followed all the necessary steps correctly, you should have a fully functional IDE which will enable you to complete any necessary programming-based activities you will participate with on this course.
Mistakes or Problems?
If you have spotted any errors or issues within this tutorial, you can e-mail Dr Ian Cornelius. Ensure to include in your message a description of the error/issue and a possible resolution. Also do not forget to include a URL to the page with the issue/error.